
A Deep Dive into JavaScript ES6: The Comprehensive Guide To Modern JavaScript
Elevate Your JavaScript with Modern Features


Table of contents
- Introduction
- let and const: Declaring variables in ES6
- Arrow functions
- Enhanced Object Literals: Simplifying object initialization
- Template Literals: Creating Dynamic strings
- Destructuring: Extracting values from objects and arrays
- Rest and Spread Operators (...)
- JavaScript Classes
- Promises: Simplifying Asynchronous Operations
- Modules: Organizing Code in JavaScript
- Conclusion
PermalinkIntroduction
As far as programming languages go, JavaScript is probably the most well-liked and extensively used one around. It has constantly evolved over the years, and ES6 (ECMAScript 2015) has truly revolutionized the way we write JavaScript code. It brought in a ton of new features that updated and improved the readability of our code. In this guide, we will explore in detail the most important features of ES6, along with practical examples of how to leverage them in your code to write less and achieve more powerful results.
Permalinklet and const: Declaring variables in ES6
ES6 introduced let and const as alternatives to var for variable declaration. Here is how to declare a variable using let and const:
let count = 5;
count = 20; // Valid reassignment

const counts = 5; //Declaring a constant
counts = 20; //Throws an error, cannot reassign a constant
The syntax is essentially the same as with the var declaration. However, there are some important differences to note:
Variables declared with
letandconstcannot be redeclared. For example:let count = 20; let count = 10; //Throws an error, cannot redeclare a variable using let count = 5; //Valid reassignment const counts = 10; const counts = 20; //Throws an error, ... counts = 5; //Throws an error, cannot reassign a constantOnce you declare a variable using
letorconstand assign it a value, you cannot redeclare that variable using the same keywords and assign it another value. However, withlet, you can reassign the variable a different value, as line 3 of the code above illustrates.countwill be updated to the value 5.With
const, you cannot reassign an existing variable a new value since the variable is a constant; hence, its original value cannot change.Variables declared with
letandconsthave block scope. This means that variables declared using these keywords inside a block ({}) of code cannot be accessed outside that block. For example:{ let sum = 5; const count = 20; } // sum and count CANNOT be used here e.g. document.getElementById("p2").innerHTML = sum; //invalid, will get an undefined errorThis scope type works in a similar way to the function scope in JavaScript. Just as you can only use a variable you declare in a function within that function with regards to function scope, you can only use the
sumandcountvariables inside the code block where you declared them with regard to block scope. If you try to use them outside of that block, anundefinederror message will be generated. If you want to use those variables outside of the block, you will have to redeclare them outside of the block before usage, like this:{ let sum = 5; const count = 20; } let sum = 5; //this sum variable is different from the sum variable in the code block const count = 20; //this count variable is different from that in the code block document.getElementById("p2").innerHTML = sum; //validLastly, when you declare variables with
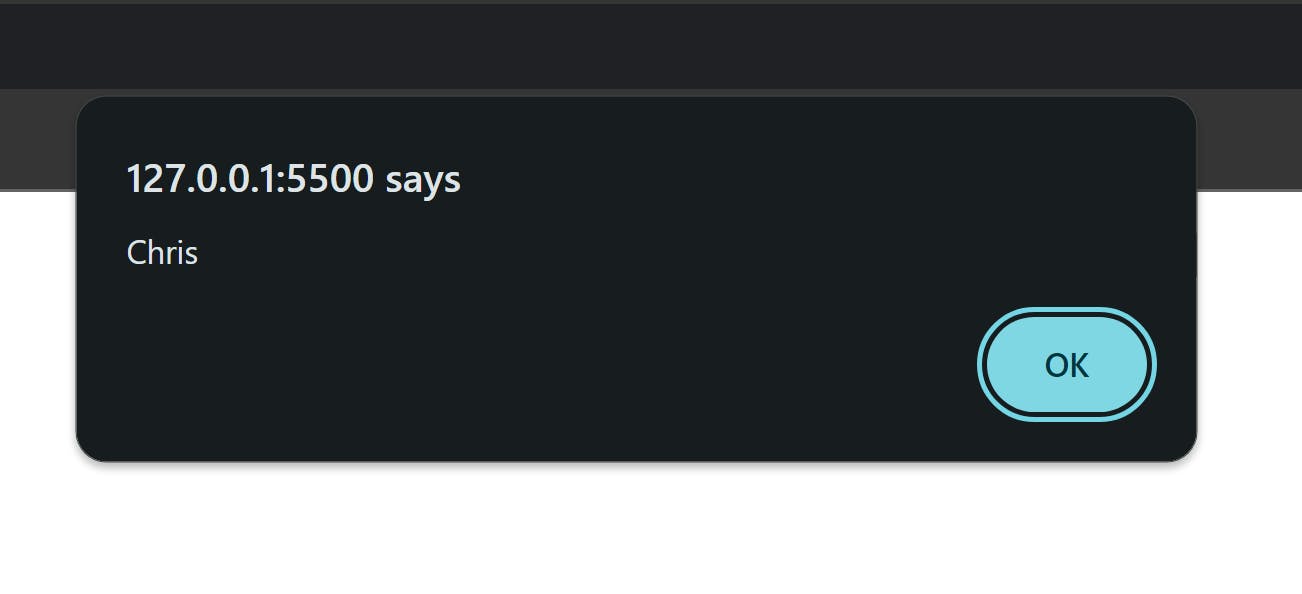
var, they are hoisted to the top and can be initialized at any time. This means you can use them before they are declared, like this:myName = "Chris" alert(myName); //myName variable is assigned and used before it is declared var myName;The resulting output:
However, when you declare variables with
letandconst, they are hoisted at the top but not initialized. This means you cannot use them before declaring them. For example:try{ myName = "Chris"; alert(myName); //This will not work when declaring using let or const let myName; } catch(err){ alert(err); //Reference error will be alerted }The resulting output:
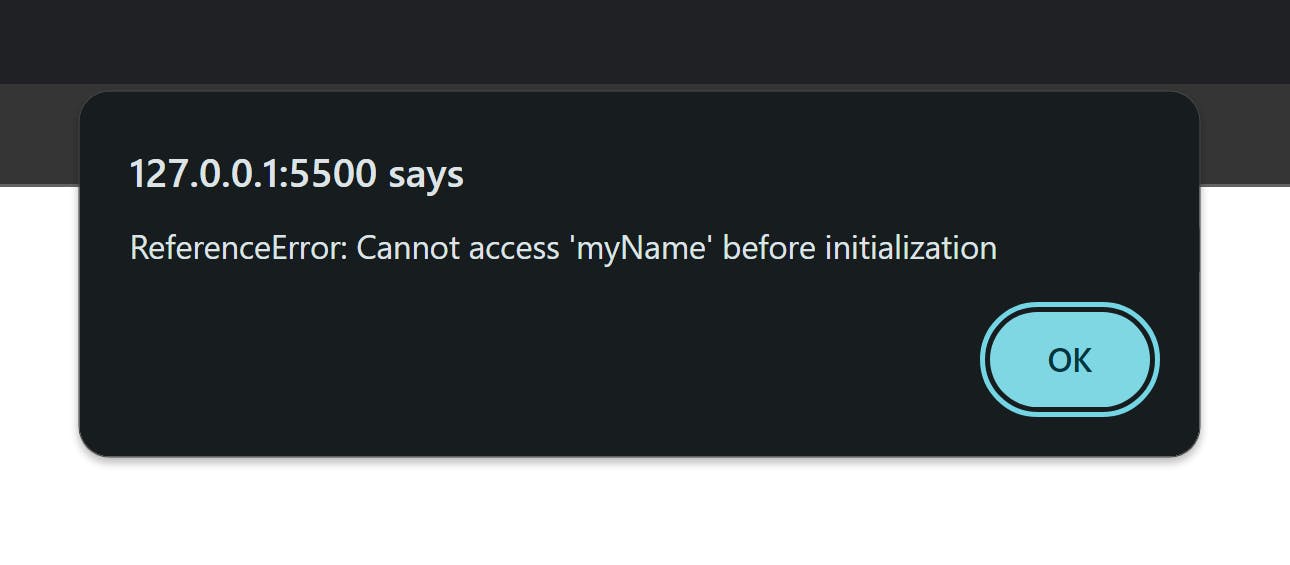
From the output, you can see that you will get a
ReferenceErrorsaying that "Cannot accessmyNamebefore initialization", meaning it is not possible to use a variable declared withletorconstbefore you initialize it.
PermalinkArrow functions
ES6 Arrow functions greatly aid in shortening the syntax for functions. For example, suppose you want to write a function to compute the square of a number. Here is the normal and most basic method you will use to write this function:
function sqFunction(x){
    return x * x;
}
However, with arrow functions, you can simplify the above function to:
const sqFunction = (x) => {
    return x * x;
}
Essentially, the function keyword is replaced by the "\=>" sign, which comes after the brackets holding the function parameters. Cool right? Well, guess what? You can still make the code above even shorter!
If the function has only one statement within its body, as is the case with our example, you can further simplify it by eliminating the return keyword and the curly brackets, like this:
const sqFunction = (x) => x * x;
In addition, if the function has just one parameter, as is the case with our example, you can eliminate the brackets containing the parameter, like this:
const sqFunction = x => x * x;
This last version of the function gives the same output as the first basic version we used, but in much shorter code. It is therefore necessary that you begin implementing arrow functions in your code.
Note that eliminating the
returnkeyword and curly brackets is only valid if your function contains just a single statement or expression within its body. If it contains many statements within its body, you should not omit the curly brackets or thereturnkeyword.Also, if your function has more than one parameter, DO NOT omit the brackets that enclose the parameters.
PermalinkEnhanced Object Literals: Simplifying object initialization
An object literal is a list of name:value pairs (e.g., name: "Jude") enclosed in curly braces ({}). Essentially, it is a way of creating an object in JavaScript. Before ES6, when creating an object with an object literal, you had to define all of the object's properties and methods as full name:value pairs, as shown below:
 const userInfo = {
    firstName: "Jude",
    lastName: "Mba",
    fullName: function(){
        return this.firstName + " " + this.lastName;
    }
};
However, ES6 improved the creation of objects using object literals by providing a shorthand syntax for defining these properties and methods. For instance:
const firstName = "Jude";
const lastName = "Mba";

const userInfo = {
    firstName, //shorthand syntax for declaring property
    lastName,
    fullName(){  //shorthand syntax for declaring method
        return this.firstName + " " + this.lastName;
    }
};
From the code above, the object will be created with firstName and lastName properties set to "Jude" and "Mba," respectively. The object will also have a fullName method that returns the first and last names.
This syntax is superior to the previous one in that suppose you have some variables you declared earlier in your code and you want them to be properties of a new object you're creating. You can define only the variable names within the object, and the object will be created with the variables and their values set as properties of that object. Also, with this new ES6 syntax, you can define object methods as if they were properties, resulting in a much shorter syntax.
PermalinkTemplate Literals: Creating Dynamic strings
Template literals enable you to create dynamic strings in JavaScript using backticks (`) instead of single or double quotes. This feature enables you to easily embed JavaScript expressions and variable values within a string without needing to concatenate. For example, consider the following code sample:
 const name = "Jude"
 const age = 29;
 const greeting = 'My name is ' + name + '. I am ' + age + ' years old.'
 alert(greeting);
//Output: My name is Jude. I am 29 years old
With template literals, you can improve the syntax of the above code like this:
 const name = "Jude"
 const age = 29;
 const greeting = `My name is ${name}. I am ${age + 1} years old`;
 alert(greeting);
//Output: My name is Jude. I am 30 years old
To embed the variable values within the string using template literals, you simply enclose them in curly braces with a dollar sign before the braces, as seen in the code above. You can also use this syntax to embed a JavaScript expression within a string, as seen in the code where the age variable's value is incremented by 1 before being displayed.
PermalinkDestructuring: Extracting values from objects and arrays
Destructuring enables you to easily extract values from objects and arrays and assign them to variables. For example:
Destructuring Objects:
//Destructuring objects
const person = { name: "Mba Jude", age: 29};
const {name,age} = person; //variables name and age will now hold the values Mba Jude and 29 respectively
alert(`${name} ${age}`) //Output: Mba Jude 29
The resulting output:

To destructure an object, as seen in the above code, you simply define the variables to which the extracted object values should be assigned inside an object literal ({}). You then assign the defined variables to the object name. The code then examines the object to see if any of its properties have the same name as the variable names you specified. If such properties exist, their values are assigned to the corresponding variables with the same names. Hence, in the above example, "Mba Jude" is assigned to the name variable and 29 is assigned to the age variable.
It is important to note that when destructuring an object, the variables you define to hold the extracted object values must have the same names as the object's properties. If you define variables with different names to the object's properties, destructuring will not occur. For example:
 const person = { name: "Mba Jude", age: 29};
 const {myName,myAge} = person; //Invalid, destructuring will not occur
 alert(`${myName} ${myAge}`) //undefined error
Here is the resulting output of this code:
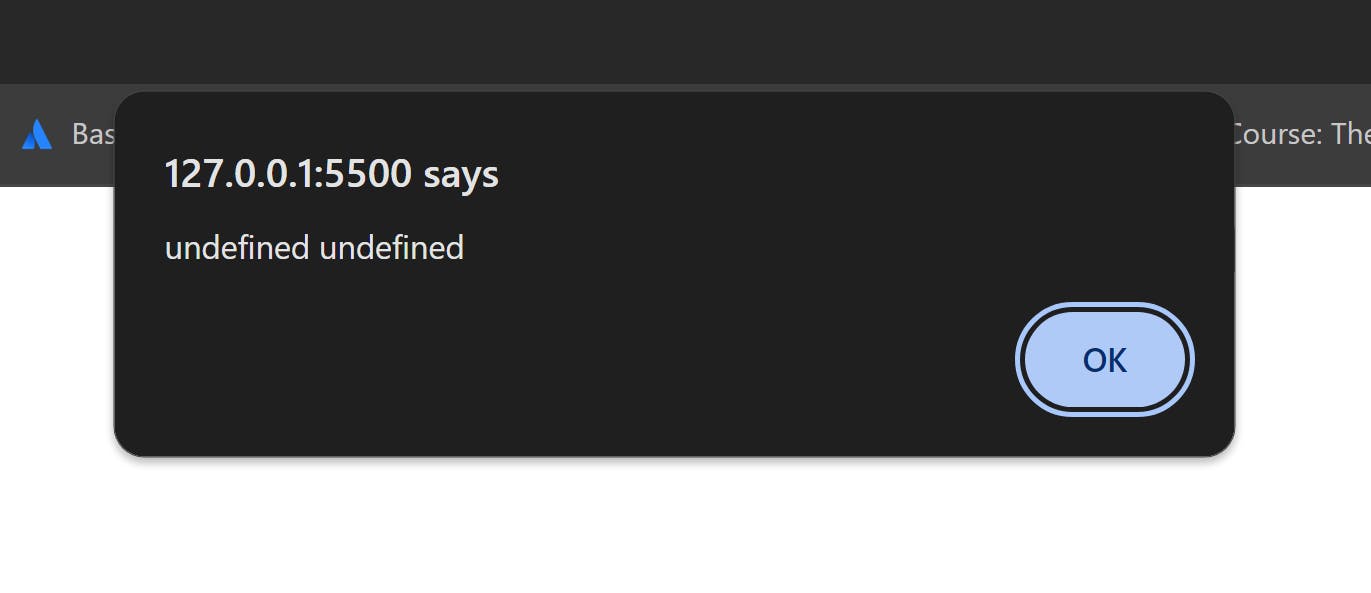
As you can see from the output, when you try to alert the myName and myAge variables, you get an undefined error. This is because, essentially, the code checks the object for any properties with names myName and myAge. Since it doesn't find any, it cannot extract any values to assign to the variables. Thus the undefined error message.
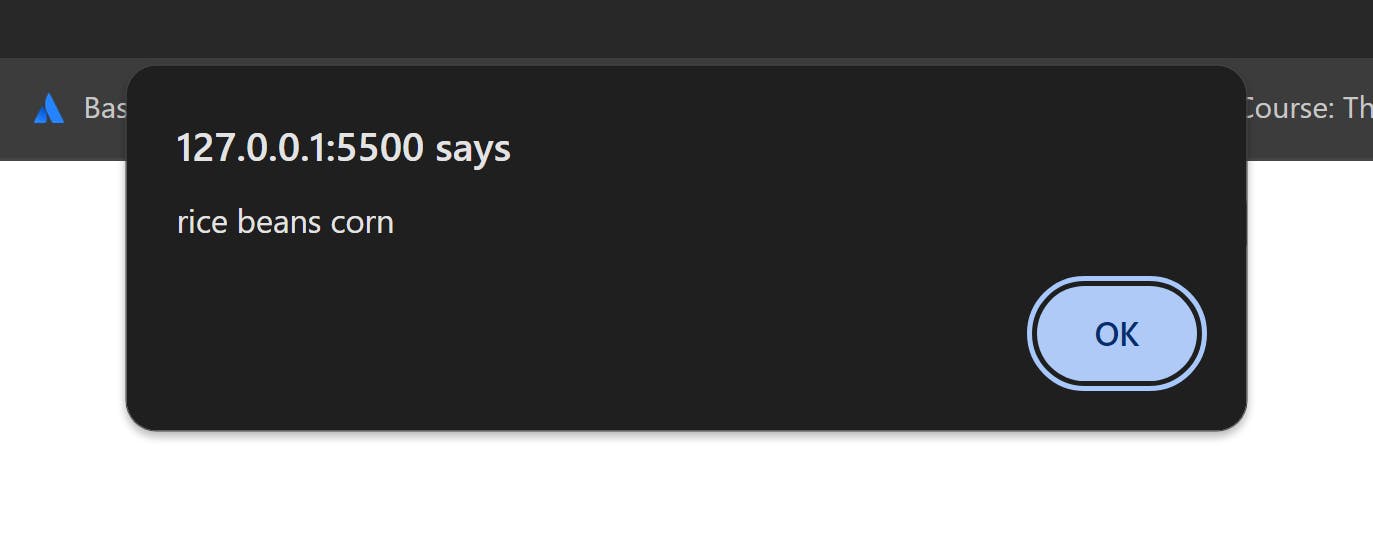
Now, let's look at destructuring arrays:
//Destructuring arrays
const items = ["rice","beans","corn"];
const [first,second,third] = items; //variables first,second, and third will now hold the values rice,beans,and corn respectively
alert(`${first} ${second} ${third}`) //Output: rice beans corn
The resulting output:
The syntax for destructuring arrays is similar to that of objects; the only difference is that you place the variables to hold the extracted values in an array literal ([]) rather than an object literal. Also, when defining the variables to destructure an array, you can give them any name of your choice. You mustn't necessarily give them specific names, as is the case with object destructuring.
PermalinkRest and Spread Operators (...)
The spread operator was introduced in ES6 to allow us to easily merge arrays. For example, you can merge the following two arrays using the spread operator like this:
const citrus = ["Lime", "Lemon","Orange"];
const fruits = ["Apple","Banana","Coconut",...citrus]; //Using spread operator
console.log(fruits);
The resulting output:
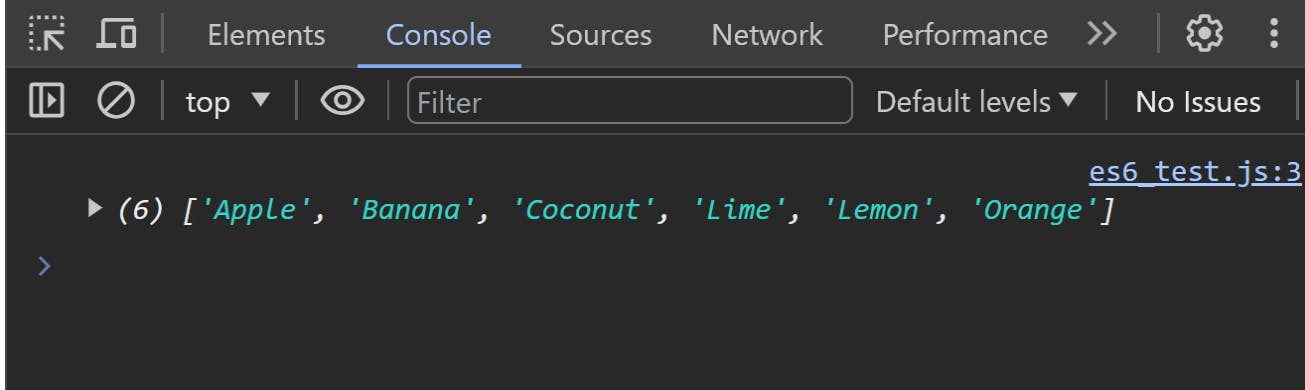
To achieve this result, as shown in the above code, you simply go to the array you want to hold all the items (fruits in our example) and enter the spread operator(...) followed by the name of the array whose items you want to add to the fruits array (citrus in our example). The spread operator will take the citrus array and expand it into its individual items, and then add each item to the fruits array. Thus, the merged array is formed.
You can use the spread operator to merge any number of arrays; for example:
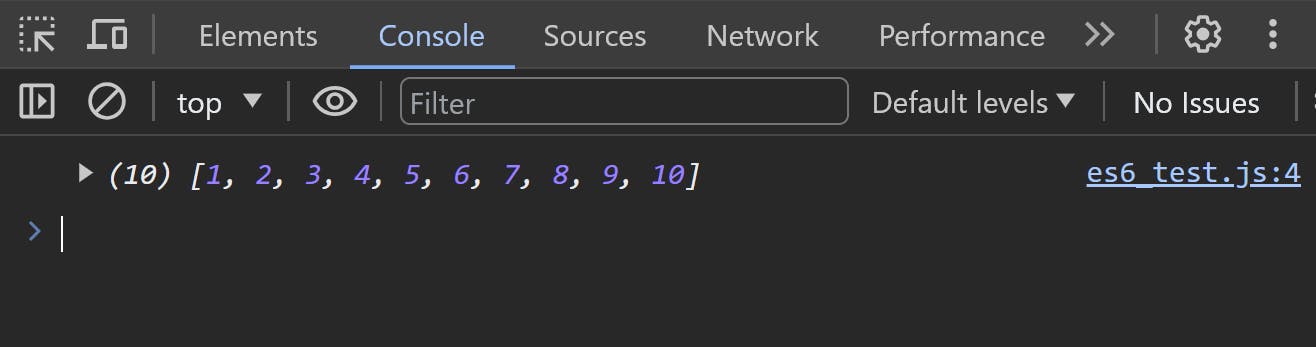
const citrus = [1,2,3];
const fruits = [4,5,6];
const pines = [...citrus,...fruits,7,8,9,10];
console.log(pines);
The resulting output:
The rest operator, on the other hand, is also represented by three dots (...), as is the spread operator. It is often used in the context of function parameters. This feature allows you to represent an indefinite number of function arguments as an array. Here's the syntax:
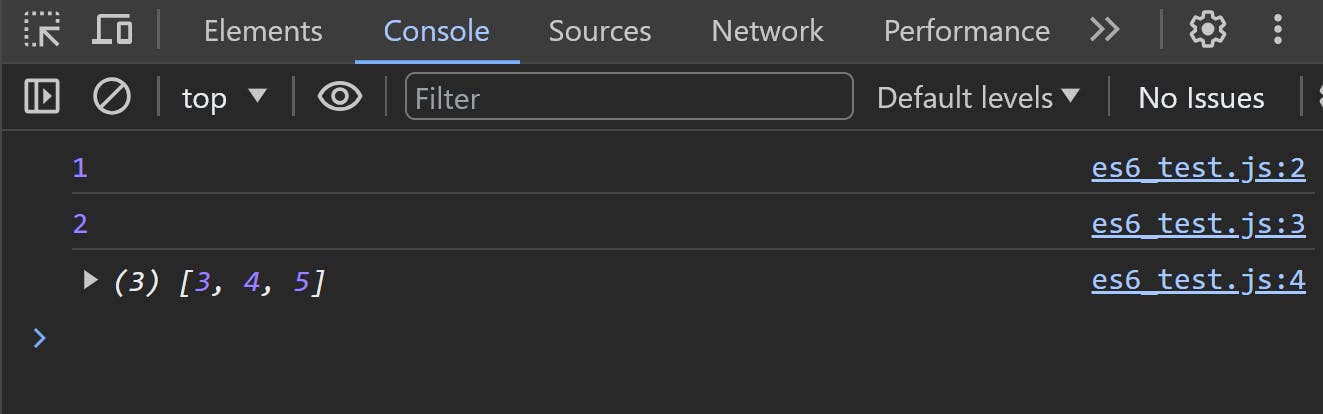
function myFunction(a,b,...restParams){
    console.log(a); //logs first parameter
    console.log(b);  //logs second parameter
    console.log(restParams); //logs an array of the remaining parameters
}

myFunction(1,2,3,4,5);
The resulting output:
How it works:
a and b are normal function parameters. ...restParams is the rest parameter, and it collects all the remaining function arguments (3,4,5 in this case) into an array. Thus, when the function is called, it logs a and b as individual values and groups the remaining arguments into an array before logging them.
You can get the length of the rest parameter array using the .length method as with normal arrays. You can also use it to perform operations within the function. For example:
function myFunction(a,b,...restParam){
    return (a + b) * restParam.length;
}
console.log(myFunction(4,5,'Mba','Jude','Jeff',10));
//Output: 36
From the above code, the restParam parameter collects the four remaining arguments ('Mba',' Jude', 'Jeff', 10) and groups them into an array. As a result, its length is calculated as 4 and multiplied by (4+5) according to the code. Thus, the output is 36.
It is important to note these two things concerning the rest parameter:
You MUST define the rest parameter as the LAST parameter in your function.
You cannot define multiple rest parameters in a single function.
function myFunction(...restParams,a,b){ //Invalid, rest parameter must be last parameter
    //Function body
}

function yourFunction(..restParam1,a,b,c,...restParam2){ //Invalid, cannot have multiple rest params
    //Function body
}
PermalinkJavaScript Classes
JavaScript classes are templates for creating objects. They were introduced in ES6 to provide a more convenient and clearer syntax for creating objects and handling inheritance within objects. Inheritance is the ability of an object to acquire the properties and methods of another object. Classes are essentially an upgrade on JavaScript's existing prototype-based inheritance.
To declare a class in JavaScript, you use the class keyword. For example:
class Animal{
    constructor(name,family){
        this.name = name;
        this.family = family;
    }

    makeSound(){  //Class method
        console.log("Generic sound");
    }
}
You can now use the class to create an object like this:
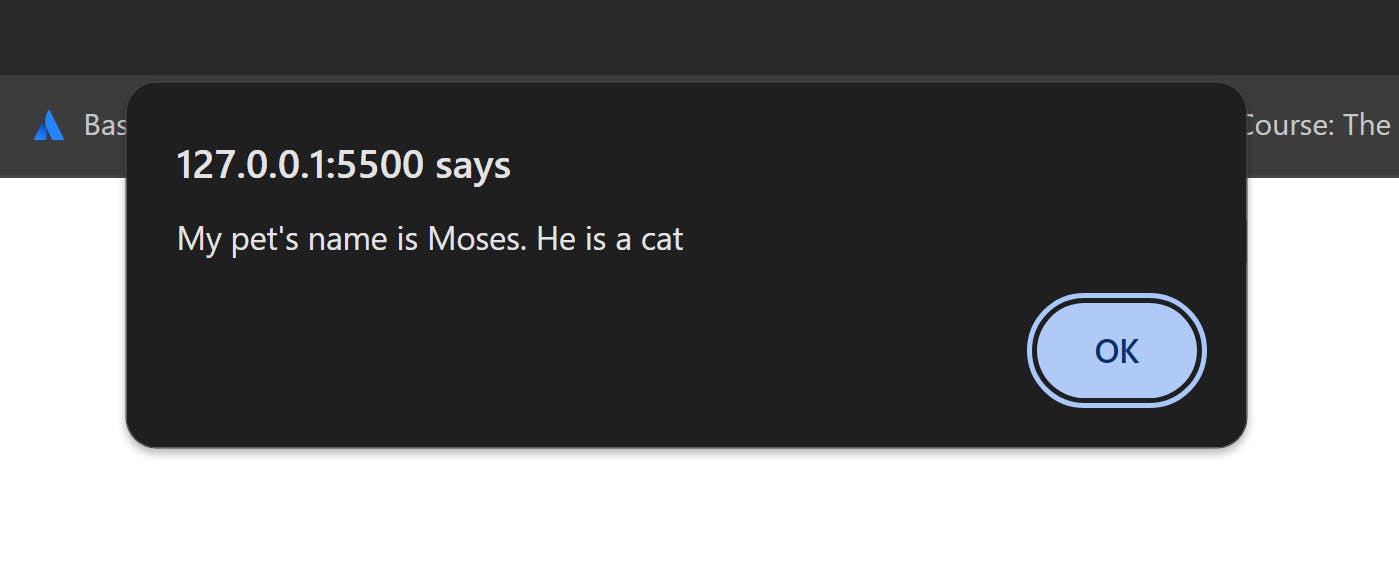
const myAnimal = new Animal("Moses","cat");
alert(`My pet's name is ${myAnimal.name}. He is a ${family}`);
//Output: My pet's name is Moses. He is a cat.
The resulting output:
The code works as follows:
The constructor method is a special method that gets called when the object is instantiated (created) from the class. It is used to initialize the object properties. In the example above, it takes as parameters name and family and sets them as instance properties. The object is then created from the class using the new keyword and the constructor method is called, which sets two new properties for the object; name and family which have as values Moses and cat, respectively.
The makeSound method is a function defined within the class. When you create the object from the class, the method becomes a method of the object and can be accessed just like the object properties.
ES6 introduced classes mainly to simplify inheritance in JavaScript. To create a class that inherits some properties from our Animal class in the above example, you use the extends keyword; like this:
class Dog extends Animal{
    constructor(name,breed){
        super(name);
        this.breed = breed;
    }
}

const myDog = new Dog("David","Shitzu");
alert(`My dog's name is ${myDog.name}. He comes from the ${myDog.breed} breed.`);
//Output: My dog's name is David. He comes from the Shitzu breed.
The Dog class is now able to inherit properties from the Animal class. The super method is used to call the constructor function of the parent class (Animal in this case), which is the class whose properties you want your new class to inherit. By calling this method in the constructor function of your new class, you gain access to the properties of the parent class. To inherit a particular property from that class, you simply pass it as an argument to the super method, as seen in the above code. The Dog class inherits the name property from the Animal class.
PermalinkPromises: Simplifying Asynchronous Operations
Asynchronous code in JavaScript is code that doesn't always run in order. Some parts of the code can start, and while they are still running, the other parts can perform their own tasks as well. Thus, the code runs concurrently.
Before ES6, the most notable method JavaScript used to handle asynchronous operations was using callback functions. However, ES6 introduced a more modern and cleaner way to handle asynchronous code, making it easier to handle long-running operations that may not finish immediately. This method is called Promises.
A promise is a JavaScript object that handles operations that might take a long time to complete, for example, loading an image or fetching data from a server. It does this by promising to perform an action when the operation is complete while letting other operations run when the original operation is still running. It keeps track of whether the operation has been completed or not and has three possible states:
Pending State: This is the initial state when the operation is still running and hasn't been completed yet.
Fulfilled State: The operation has been completed successfully, and the promise returns a value.
Rejected State: The operation fails and cannot be completed. The promise returns an error message stating the reason for the operation's failure.
Let's see an example:
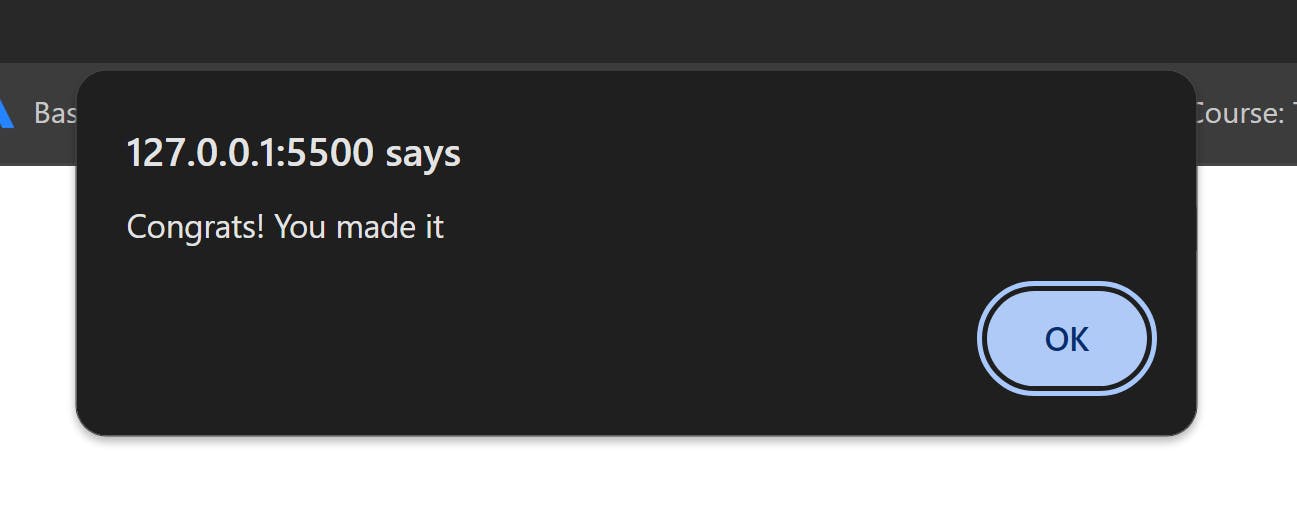
const checkScore = new Promise(function(resolve,reject){

    const score = 55;
    if (score > 50){  //This code may take some time
        resolve("Congrats! You made it");
    }else{
        reject("Oops! Sorry, you didn't make it");
    }

});

checkScore
    .then(
        function(result){alert(result);}, //If score is above, alert this
        function(error){alert(error);} //If score is below, alert this
    );
The resulting output:
Now let's break down the code step by step:
We create a promise called
checkScore. Inside this promise, we pass a function that takes two parameters:resolveandreject. These parameters are functions that handle the promise's state.Inside the promise, we set the
scorevariable to 55 and then check if the score is greater than 50. If the score is greater than 50, we call theresolvefunction and pass a success message as an argument. This means the promise is fulfilled with the message, "Congrats! You made it".If the score is not greater than 50, we call the
rejectfunction and pass the error message as an argument. This means the promise is rejected with the error message "Oops! Sorry, you didn't make it".We then use the promise by chaining the
.then()method. This method takes two arguments: a callback function to handle the fulfilled promise state and another to handle the rejected promise state.If the promise is fulfilled (the score is greater than 50 in this case), the first callback is executed, and it executes whatever code is inside it (alerts the success message in this case).
If the promise is rejected (the score is less than 50 in this case), the second callback is executed, and it alerts the error message in this case.
Hence, you see that promises provide a well-structured way to handle asynchronous operations within your code, allowing you to define what should happen when an operation succeeds or fails without blocking the execution of other code.
PermalinkModules: Organizing Code in JavaScript
A module in JavaScript is an independent and reusable piece of code grouped in a file. Modules are arguably the most important feature of ES6 introduced in 2015. They help to organize and structure code, promote reusability, and enhance maintainability.
To be able to use modules in JavaScript, you must first set the type attribute for your <script> tag to "module", like this:
<script type = "module">
</script>
Each module is a separate file with its own piece of code, hence making it easier to locate and manage code within your codebase. A module can have several variables, functions, or objects that you can reuse in other modules throughout your codebase. For example, suppose you have a module named myModule.js that contains a constant and a function. You want to use these constant and function values in another module to log something to the user. To make these values available for use in other modules, you must export them using the export keyword, like this:
//myModule.js
const PI = 3.14159;
function doublePI(){
    return PI * 2;
}

export {PI, doublePI};
From the above code, you can now access the PI constant and doublePI function in any other module and use them as you wish.
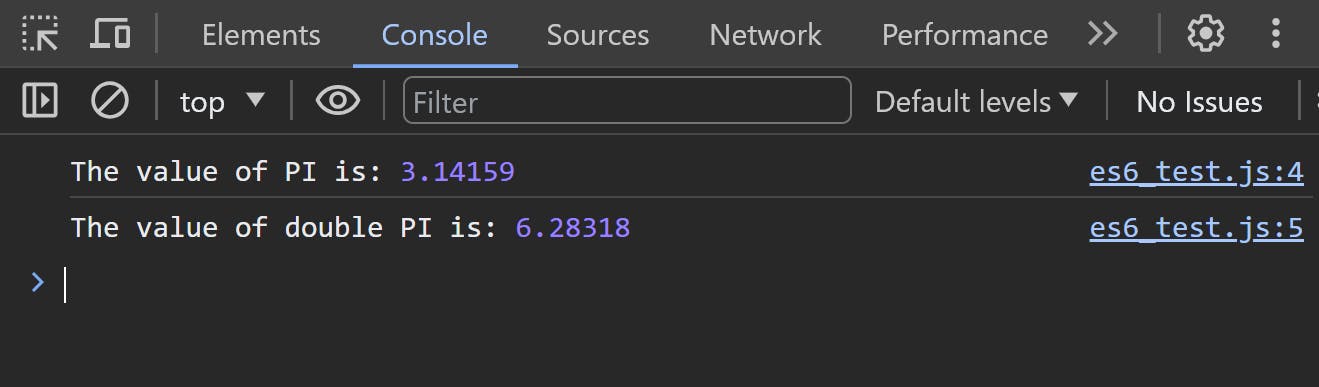
To access these exported values from your myModule.js in another module and use them, you use the import keyword, like this:
//myAnothermodule.js
import {PI,doublePI} from './myModule.js';
console.log(`The value of PI is:`, PI);
console.log(`The value of double PI is:`, doublePI());
The resulting output:
Note that the method we used to export the values from myModule.js above is called Named Export. This method is usually used when you want to export multiple values from a single module, as we did above. When importing values that were exported using this method, you must enclose them in a set of curly braces, as seen in the code above.
However, if you want to export just a single value from a module, it is preferable to use another method called Default Export. With this method, you use the export default keyword to export the data you need. For example:
//myModule.js
const userInfo = {
    fName: "David",
    lName: "Nsom",
    age: 30
}

export default userInfo;
To access this default value in another module, you still use the import keyword. However, you do not need to enclose the value name in a set of curly braces as you did with named export. You just write the name as it is, like this:
//anotherModule.js
import userInfo from './myModule.js';
console.log(userInfo.age); //Output: 30
Note: A module in JavaScript can have many named exports, but can have just ONE default export. For example:
//myModule.js
const PI = 3.14159;
const name = "Jude";
function doublePi(){
    return PI * 2;
}
function triplePI(){
    return PI * 3;
}

export default PI; //Valid export
export default name; //Invalid export, can only export one default value
export {doublePI,triplePI} //Valid export, can export multiple named values
PermalinkConclusion
ES6 and its subsequent versions have significantly enhanced the JavaScript language, introducing powerful features that help developers write cleaner, more efficient, and more maintainable code. Embracing these features enables a more modern approach to development, and I highly recommend that you start incorporating them into your coding practices so as to elevate the quality and efficiency of your JavaScript projects.👨💻🚀